INSTRUCTION BOOKLET
Baby Kit
Safety
Alginate is a non-toxic powder made from seaweed extract. If you would like to check your sensitivity to the product please mix ½ teaspoon of alginate with ½ teaspoon of water and apply it on the back of your hand. Once the mixture has set, peel if off your hand. If you see any adverse reactions, do not use the kit.
Do not apply the casting powder to your skin. It is only used for pouring into the mold. Use only cold water
WARNINGS: Keep out of reach of Children. This is not a toy. Do Not Inhale the Powders. Do Not Ingest Materials. If this occurs, please seek medical advice. Please wear gloves and a mask when mixing the casting powder.
Clean-up
Use the Plastic Film to minimize mess!
Do not pour liquids into sinks or drains because it may clog your pipes. Dispose of unused liquids into the waste bin. Once sachets are opened, use within 3 days.
Contents
What's included in this kit
- 1 litre bucket
- Alginate Power (2 packets)
- Plaster powder (2 packets)
- Black Display Stand
- Acrylic Cover
- Metal detailing stick
- Sandpaper
What else do you need?
- Mixing Bowl (500ml / 16oz)
- Small hand wisk or large spoon
- Scissors
- Measuring Cup
- Timer
- Baby Oil / Hand Cream
- Face mask
- Thermometer
Casting steps
Allow up to 5 hrs
| This process works better if there are 2 people |
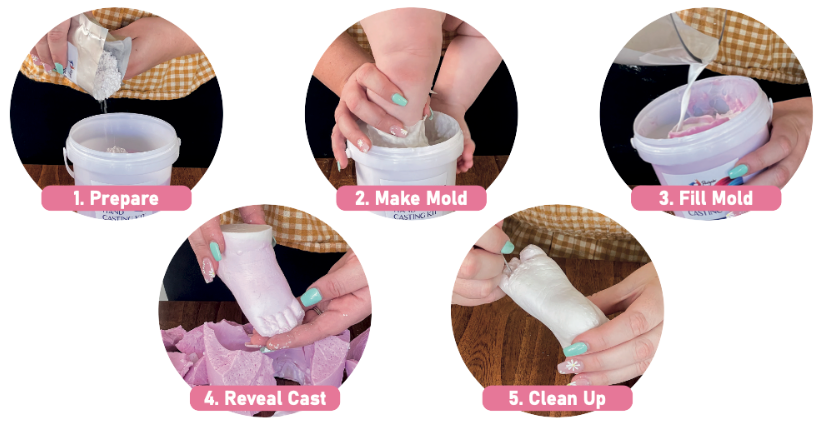
Preparation
Set-up
Prepare an area that is flat, hard and smooth that can be easily wiped down. Kitchen countertops or dining tables work best.
Have all items listed under ‘What else do you need?’ on Page 2 in easy reach.
Practice
Practice the pose you wish to cast, inserting the limb to be casted into the bucket, ensuring it fits without touching the bottom or the sides. It is best the limbs go in vertically and not at an angle. Ensure the pose is something that can be held for up to 5 mins.
| Better with 2 people. Apply hand cream or baby oil to the limb you wish to cast. |
Casting Options
Will vary based on the age and size of your baby
Foot Casting

Hand Casting

Preparing the alginate
| Ensure you have read the next section ‘Taking the Plunge’.
Only begin mixing when you are ready to make the mold.
You only have around 1 min |
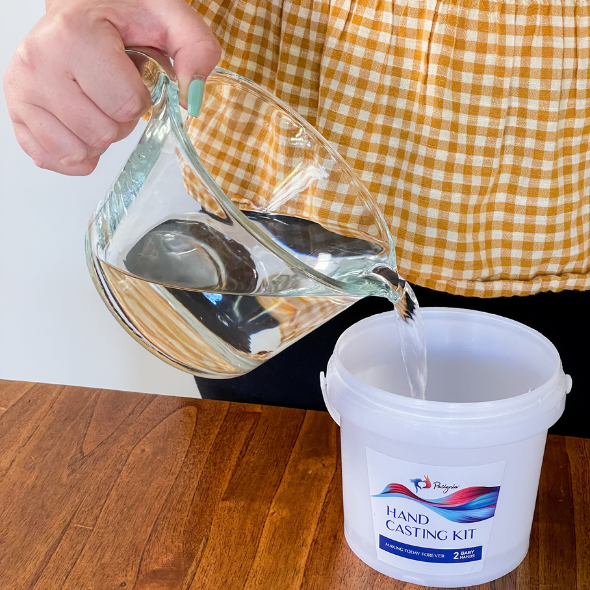
Fill Water
Fill 600ml (20oz) of water into bucket. For best results, the water temperature should be approx 25°C (77°F)
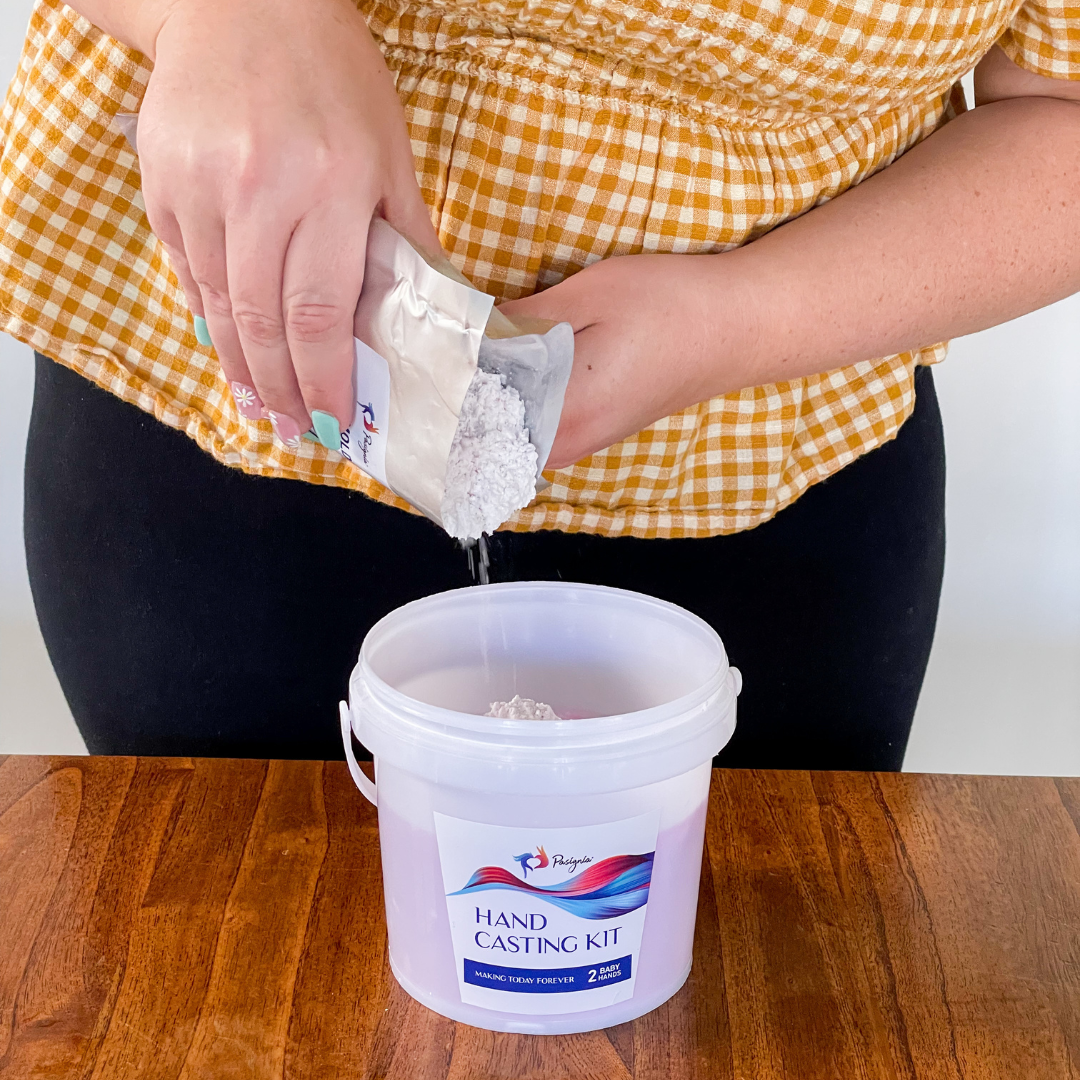
Add Alginate Powder
Slowly add all of the Step 1 powder into the water.
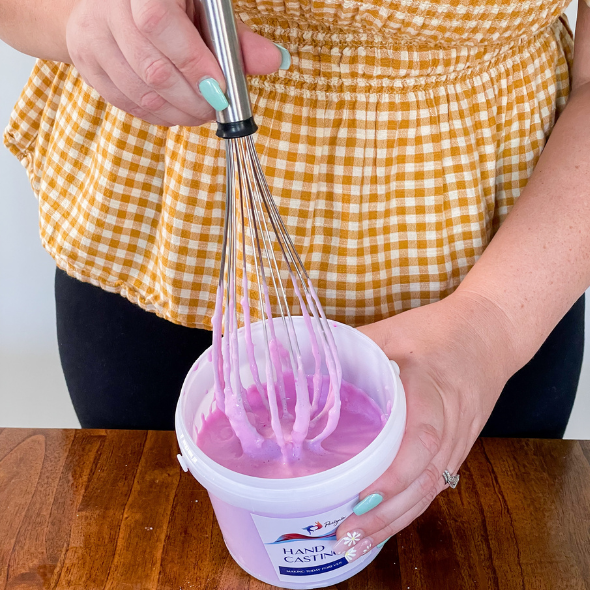
Mix
Quickly start mixing. You have
around 1 min to stir it.
If it remains slightly lumpy that
is okay.
Making the hand cast
| Vertical Positions works the best.
Ensure baby is asleep or seated comfortably.
Roll-up clothing or ensure baby is wearing short sleeves) Allow up to 5 mins. |
1. Take the position you practiced
earlier and insert the baby's limb into the bucket.
2. Lower the baby's limb into the aliginate – going down as far as possible until they touch the bottom and then lift it approximately half an inch from the bottom.
3. Hold the baby in this position, trying to keep them still so that their hands or feet do not touch the sides or bottom of the bucket. Wait until the alginate turns white/light grey.
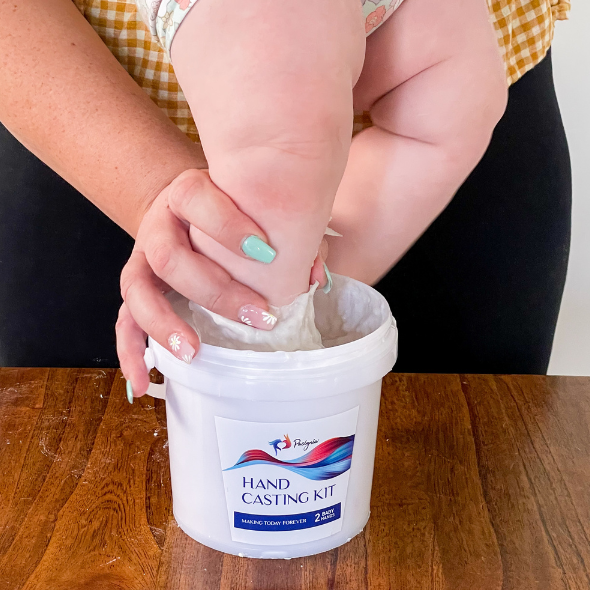
Removing your hands
1. Allow your baby to wriggle and move.
2. Gently guide their hand or foot out of the bucket, following the shape of the mold.
3. You will feel suction as you remove their hand or foot – this is normal. Continue to remove their limb slowly and carefully.
4. If alginate falls back into the mold – gently remove it.
5. If there are loose bits at the top, gently trim them so they don’t fall back into the mold.
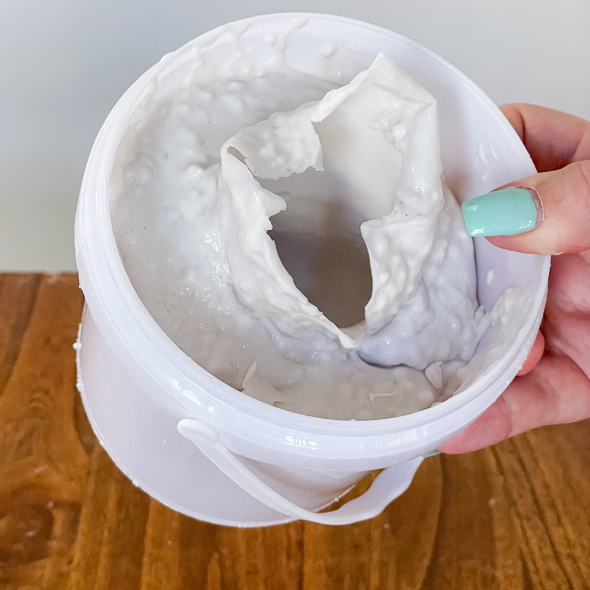
Once their limb is removed – have a look to see if there are any loose pieces in the mold. If there are – gently trim and remove from the mold.
From mold to cast
| Keep a large tablespoon of casting powder aside to help with touch up. You will need to work quickly in this section – the plaster will start setting within 1 minute. |
1. Measure out 125ml (4oz) of water. For best results, the water temperature should be approx 25°C (77°F).
2. Wear gloves provided . It is also recommended to wear a protective mask.
3. Empty all Casting Powder evenly into the water.
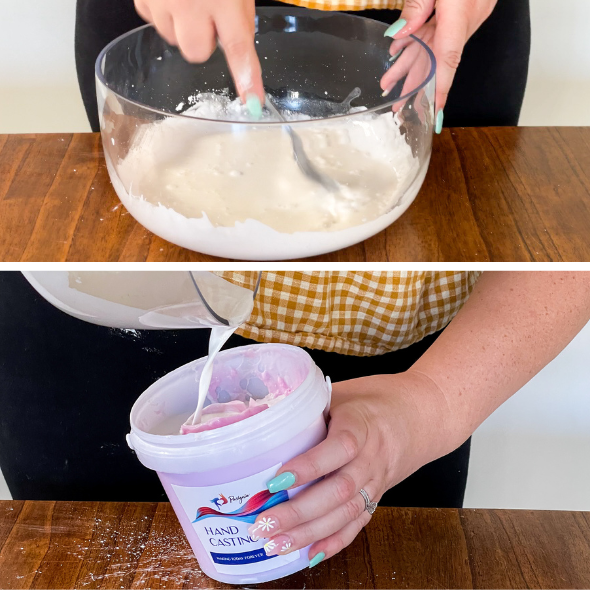
4. Rapidly stir to get rid of any major lumps. It should have a paint like consistency.
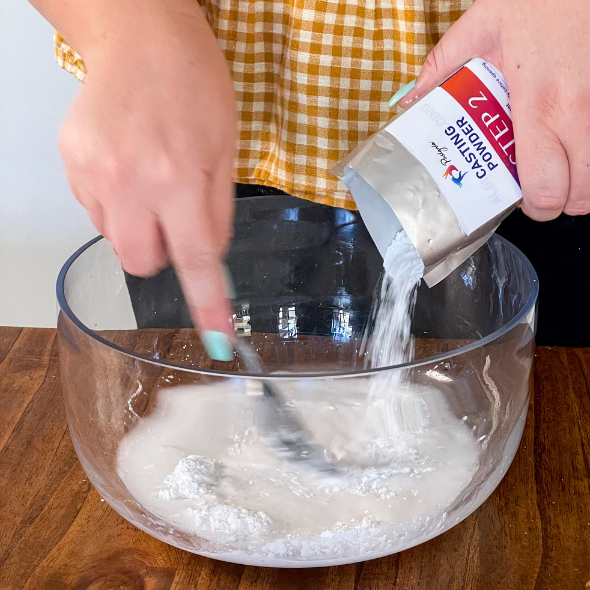
| Work quickly - you only have up to 1 minute to do this |
Filling the mold
1. Tilt the bucket at a slight angle.
2. Pour the plaster liquid into the mold until it is half way filled.
3. Remove air bubbles by rotating the bucket, smacking the bucket down on the work surface then slapping the sides of the buckets with your hands.
4. Pour in the rest of the plaster until the mold is completely filled.
5. Repeat Step 3 to Remove air bubbles'.
6. Let the bucket sit and harden for 3-4hrs.
7. Perfect time to start cleaning up. Do not pour any excess plaster down the sink – let it harden in the bowl to scrape off tomorrow to throw into the trash.
Unveiling & finish up
Remove the mold
1. After 4 hours turn the bucket upside down to slide out the pink mold. To make this easier gently pull and squeeze the bucket around the edges to loosen the mold.
2. Remove the pink mold from the plaster carefully using your hands. You will gradually start seeing the cast appear. It will still be damp so be careful!
3. Use the detailing stick to help clear any tiny alginate particles from the surface of the cast.
4. Whilst damp, use the slanted edge of the detailing stick to smooth out any inconsistencies.
5. If there are holes or gaps that need filling, use the plaster powder you have set aside (mixed with a few tablespoons of water to get a thick consistency).
Finish up1. Let your cast air dry for 72 hours in a bright dry environment to ensure it has fully hardened.
2. Use the sandpaper to smooth out the base and remove any bubbles on the surface.
3. If you find other pink alginate particles, use the detailing stick to gently pry them out.

